The Best Gluten Free Dairy Free Chocolate Layer Cake
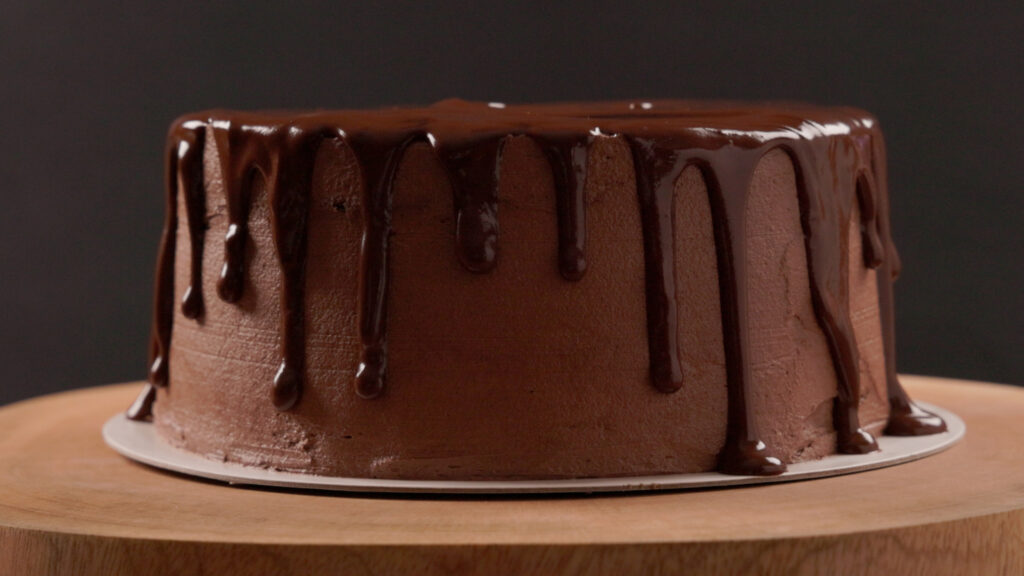
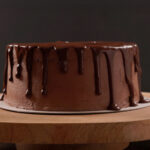
Moist and fudgy, this chocolate layer cake is gluten- and dairy-free and makes the perfect cake for a celebration. It has three layers of rich chocolate cake, with an easy dairy-free chocolate frosting, and topped off with a dairy-free dark chocolate ganache drip!
I made this cake for a friend who can’t eat gluten or dairy, but eggs were ok to use. I made sure each ingredient I sourced was guaranteed to be gluten and dairy free.
Special ingredients used for this GF DF Chocolate Cake
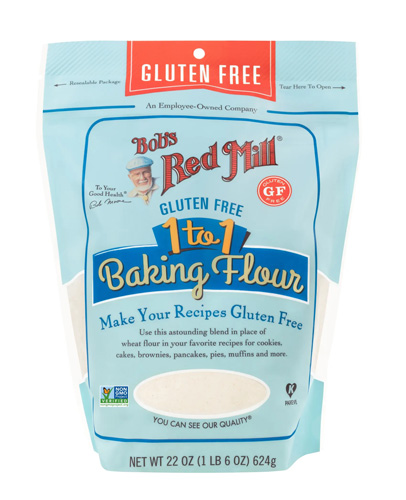
1 to 1 Gluten-Free Flour Blend – For this cake, I have used Gluten Free 1 to 1 Baking Flour blend from Bob’s Red Mill. I like using these flour blends, because they have been specially formulated and tested to behave just like regular all-purpose flour.
Coconut Milk – For the frosting and the ganache, I used full-fat coconut milk.
Almond Milk – For the cake batter, I used unsweetened, unflavoured almond milk.
Dairy-free Butter – For the frosting, I used dairy-free butter. Depending on the brand you purchase, it could have a blend of vegetable oils — it tastes a lot like margarine!
Dairy-free chocolate chips – The brand I used is dairy, nut, and gluten free. It’s made from real dark chocolate and has a wonderful flavour and melts just like regular chocolate.
Cocoa — The brand of cocoa I use is gluten-free, so if you need to watch out for that make sure your source is ok to use. It also has the benefit of being very delicious!
Can I Make Substitutions?
Making substitutions for a gluten-free recipe can be tricky. I would make sure that you source your subs carefully and read the back of the product packaging, if safety is an issue.
Flour – There are many brands of “1 to 1” type flour substitutes; use whichever one you can find and works for you. I would NOT substitute a single ingredient flour, for instance using only almond flour or coconut flour. These are not inherently bad, but won’t behave properly to ensure a cake with proper moisture and fluffiness.
Coconut milk – Please use only full fat coconut milk, as the ganache won’t firm up with a light version.
Eggs – If egg allergies are a problem, I would use the egg substitute that you have tried before.
The GF Cake Method
First, make the cake layers. After baking and cooling slightly, wrap the layers in plastic wrap and refrigerate until you are ready to decorate. Refrigerating the layers helps them be easier to handle when you go to decorate them. You can also make the cake layers a day or two ahead of time if you like.
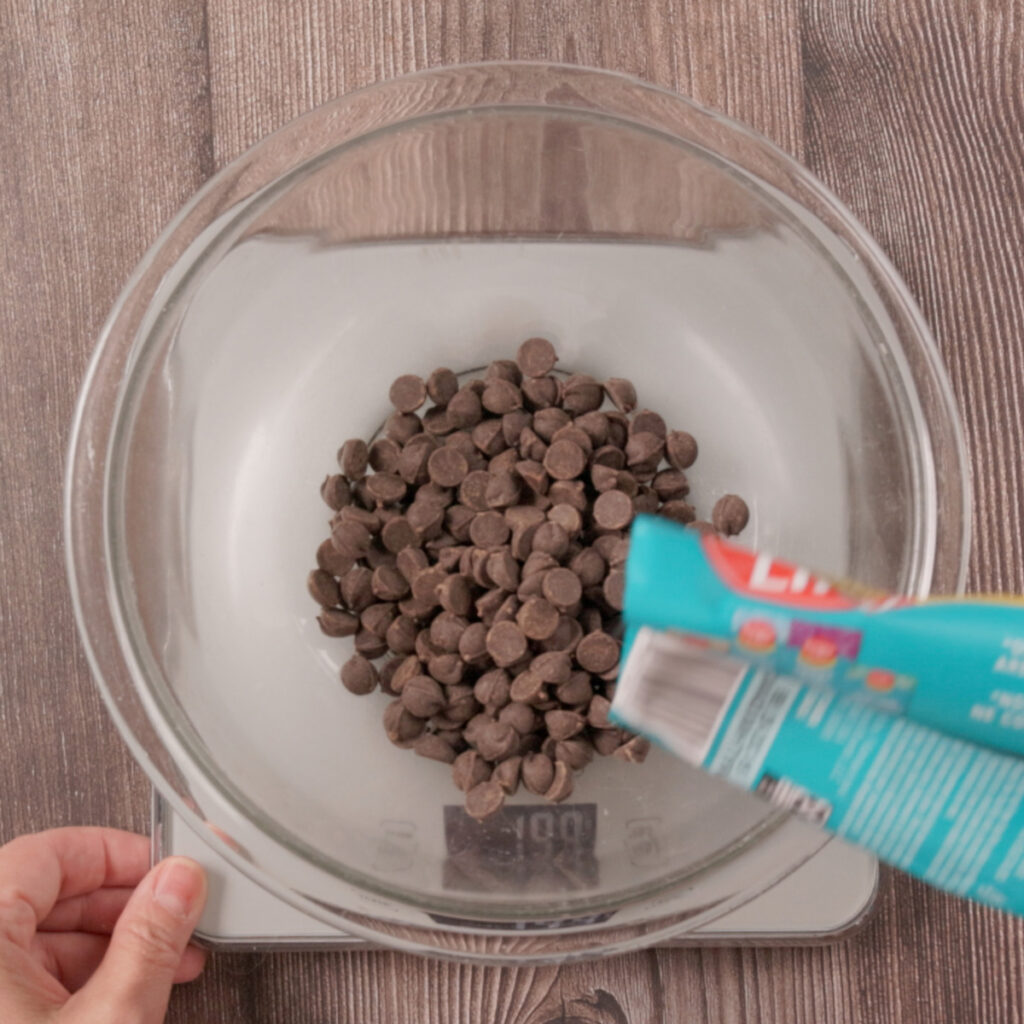
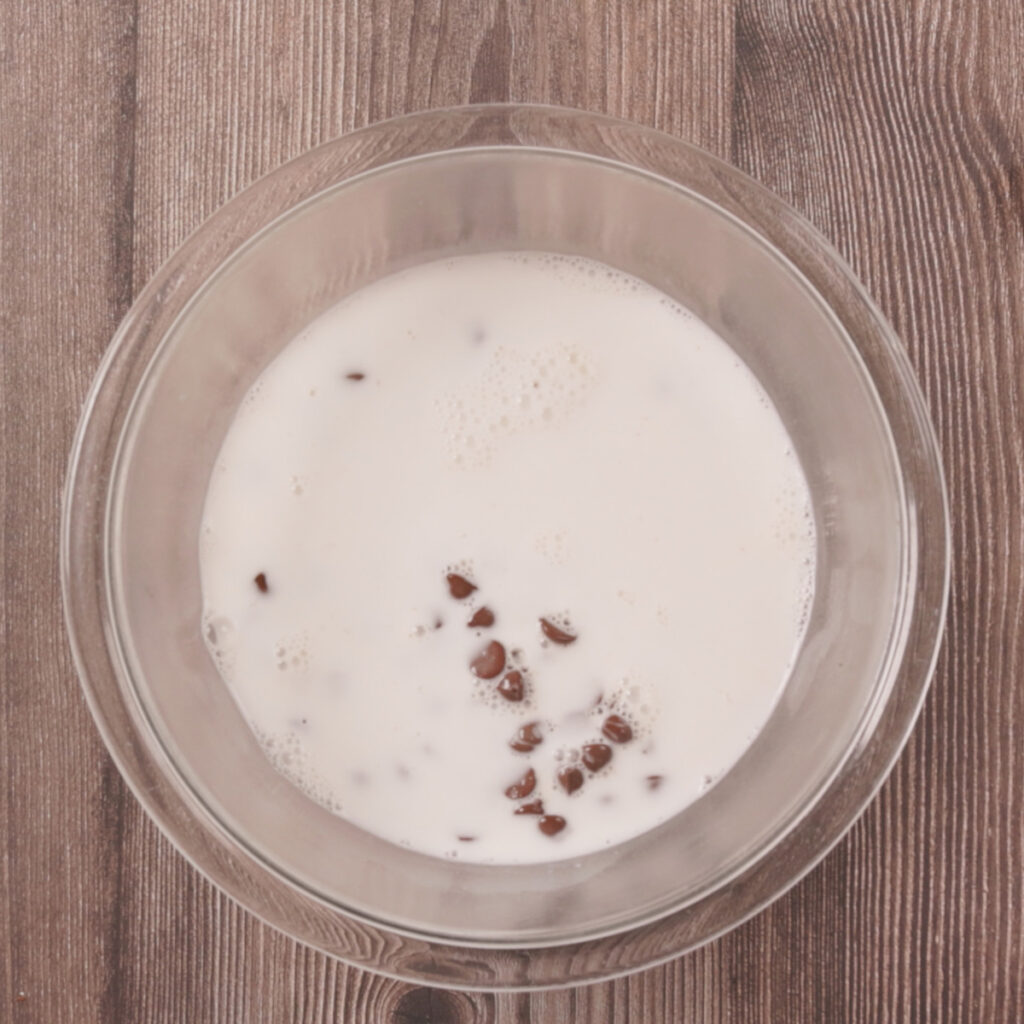
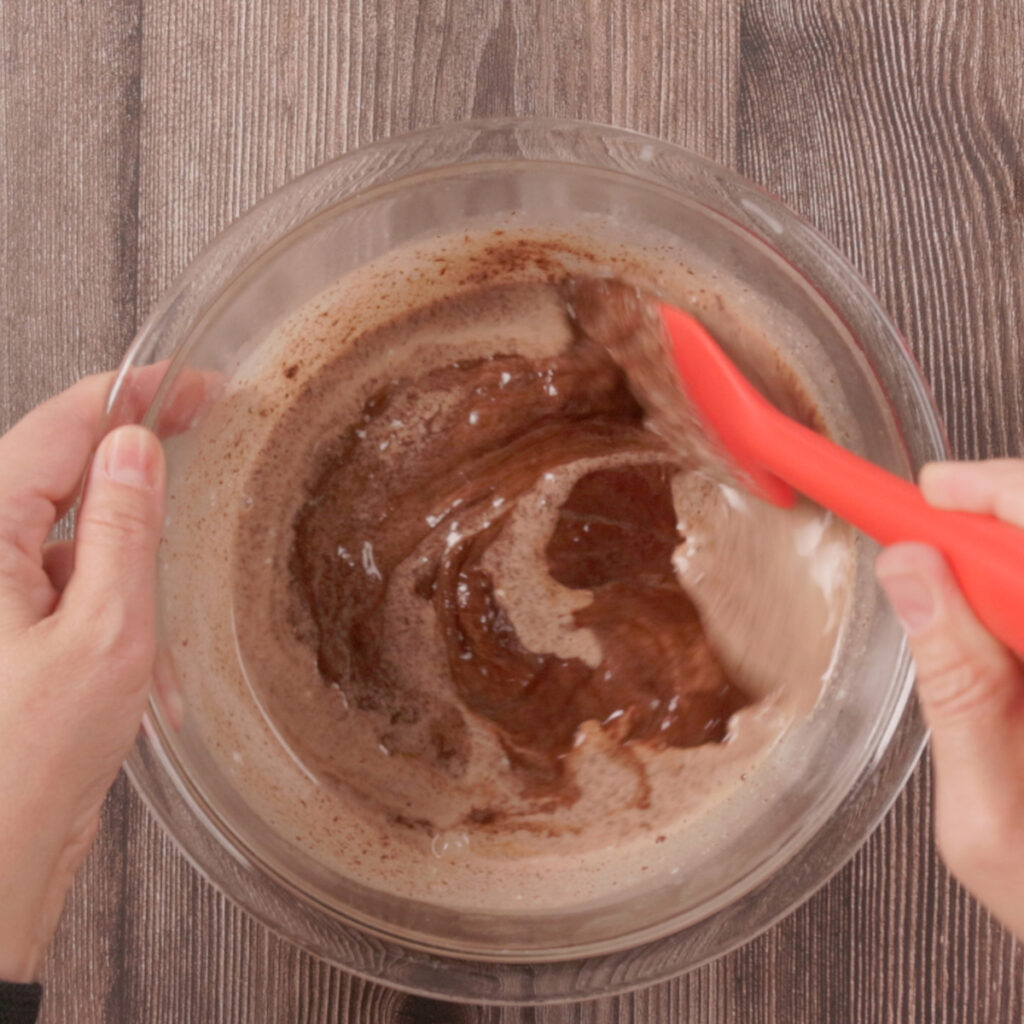
Second, make the ganache for the drip. Measure out the chocolate chips into a heat-proof bowl. Before you open the can of coconut milk, give it a good shake for a minute to blend the fat into the milk. Heat the coconut milk over medium heat until it just comes to a simmer, but not boiling. Then, pour the hot milk over the chocolate chips and let it sit undisturbed for 2-3 minutes before stirring until smooth. Set this aside to cool slightly while you make the frosting.
Last, make the chocolate frosting. Using a stand mixer, blend the plant-based butter with vanilla until smooth and fluffy; about a minute. Then add the icing sugar and cocoa and blend until incorporated. Adding 1 tablespoon at a time, add the remaining coconut milk, mixing in between each addition, until it’s a nice, spreadable consistency. I usually add about 4 tablespoons worth.
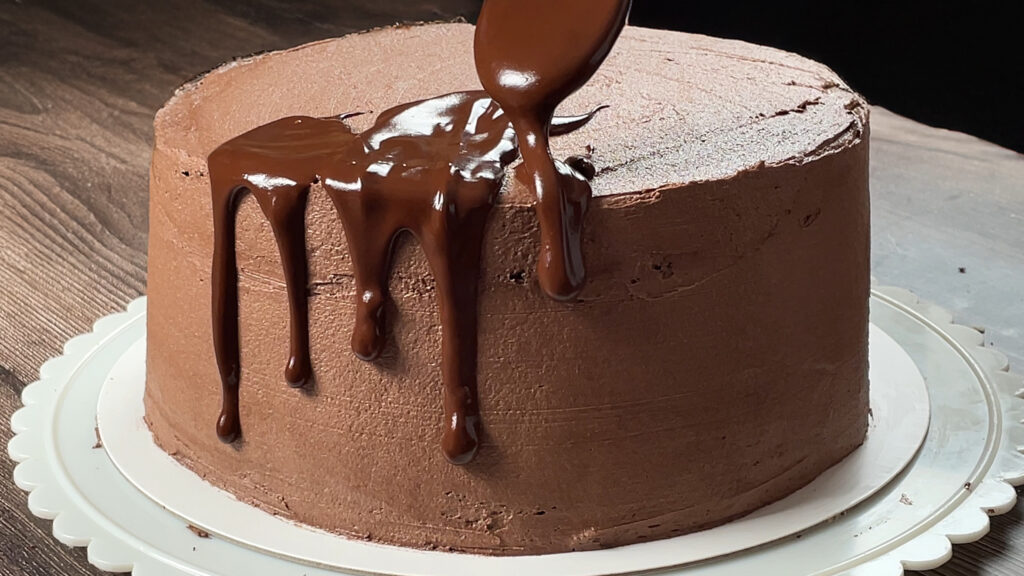
Frost the cake layers and then add the ganache drip to the top. Simply take a spoonful of ganache and let it drop onto the edge of the cake, pushing slightly with the spoon if necessary. The drip will naturally run down the sides of the cake. It looks really cool if you do drips of varying lengths.
Refrigerate the decorated cake when finished. Let cake come to room temperature before serving.

The Best Gluten Free and Dairy Free Chocolate Layer Cake
Equipment
- 3 8" cake pans
- 1 10" cake board if needed, for transport
- 1 10" cake box if needed, for transport
- stand mixer with paddle and whisk attachments
- spatulas
- parchment paper
- Small saucepan
- small heatproof bowl
Ingredients
Cake
- 2 cups gluten free 1 to 1 all-purpose baking flour
- 2 cups granulated sugar
- ¾ cup cocoa
- 2 teaspoons baking powder
- 1.5 teaspoons baking soda
- 1 teaspoon salt
- 1 cup almond milk or other plant-based milk
- ½ cup neutral oil such as grapeseed oil
- 2 eggs or egg substitute of your preference
- 1 cup boiling water
- 2 teaspoons vanilla extract
Dairy Free Chocolate Ganache
- 8 oz dairy free dark chocolate chips
- 8 oz full fat coconut milk
Dairy Free Chocolate Frosting
- 1 cup dairy free plant-based butter softened
- 4 cups icing sugar
- ¾ cup cocoa
- 4 Tablespoons full fat coconut milk or more
Instructions
Cake
- Preheat oven to 350° F. Get your three 8” cake pans ready by spraying with non-stick cooking spray (check ingredients for allergens), or brushing with neutral oil, lining with parchment paper, and dusting with a couple of teaspoons of your gluten free flour mix. Set aside.
- To the bowl of a stand mixer fitted with the paddle attachment, add the dry ingredients: gluten free flour, sugar, cocoa, baking powder, baking soda, and salt. Mix on medium speed until blended.
- Add the milk, oil, and eggs, and mix until blended.
- Add the boiling water and mix until just blended, then add the vanilla and mix until just blended.
- Divide the batter among the three prepared cake pans. Thump the pans gently to remove any air bubbles if necessary.
- Bake for about 30 minutes, or until a toothpick inserted into the center of the cake *just* comes out clean with just a few crumbs sticking to it.
- Cool for about an hour, then wrap in plastic wrap and refrigerate until ready to decorate. You can make the cake layers the day before if desired.
Ganache
- Measure the chocolate chips into a heat-proof bowl and set aside.
- Shake the can of coconut milk before opening to distribute the fat, then measure out 8 oz into a small saucepan. Heat over medium heat until just barely starting to simmer, but not boiling.
- Pour hot milk carefully over chocolate chips, and leave undisturbed for 2-3 minutes before stirring with a spatula until completely smooth. Set aside to cool while you make the frosting.
Chocolate Frosting
- Add softened butter to the bowl of a stand mixer, fitted with the whisk attachment. Add the vanilla and mix at medium-high speed, until vanilla is fully incorporated into the butter, about 1 minute.
- Add icing sugar and cocoa, and mix until fully incorporated.
- Add coconut milk, 1 tablespoon at a time, until you get a consistency you like to spread onto the cake.
Assembly
- Onto a cake board or plate, add a small spoonful of icing to act as “glue” to hold down the first cake layer. Add the cake layer onto that.
- Spread about ½ cup of frosting on top of the layer, spreading to the edges using a spatula.
- Repeat with the next layer of cake, spreading the top with frosting to the edges.
- For the final layer of cake, place it on top of the second layer *upside down* so the bottom of the cake faces up, giving you a flatter surface. Spread the remaining frosting on the top and sides of the cake. No need to be super precise, as you will be covering with ganache.
- Using a spoon, drip the ganache on the edge of the cake, so that it drips over. You can go slowly, and use the spoon to push the ganache if necessary. Repeat around the whole cake. To finish, add a big spoonful or two of ganache to the top of the cake and spread evenly with the back of the spoon. It will level out slightly.
- Refrigerate cake in a cakebox or carrier until ready to serve. The cake tastes the best if you let it come to room temperature before serving.